|
| My New Coupon Keeper |
 |
| A Bowl Full of Lemons |
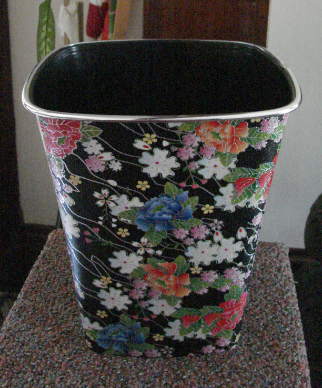
My Pinterest inspiration came from Toni at
A Bowl Full of Lemons, (pictured at right). Her post lead me to The
Krazy Coupon Lady for even more ideas. The KCL offers free printables too.
I'm no a coupon superhero, so my Coupon Keeper is just that, a coupon holder for now. Toni has all kinds of extras in her
binder, so check out
A Bowl Full of Lemons.
This is my first tutorial, so please bear with me. Bear, as in
to endure and/or
tolerate, not the big furry mammal with claws. Not
bare, as in naked either. That would be awkward.
Don't forget to read the entire tutorial before you start.
Click On Any Photo To Enlarge
You Will Need:
-4 long envelopes sized 4 1/8"x9 1/2", either style shown [pic 1]
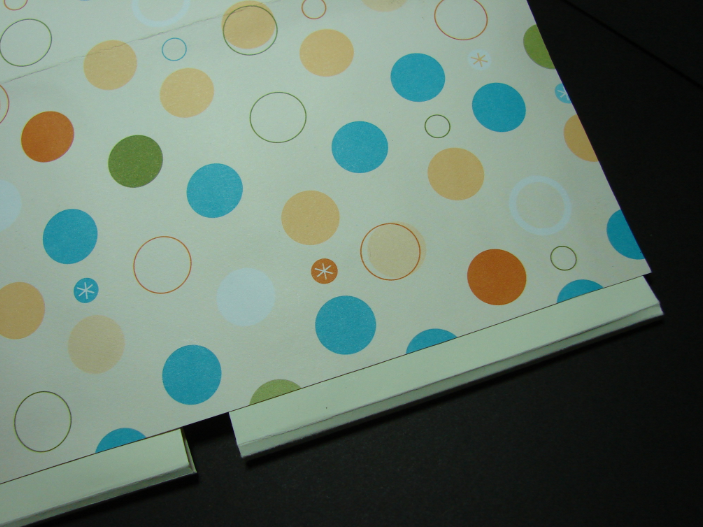
-1 piece of 12"x12" card stock, (cs) or heavy designer printed paper [pic 2]
 |
| [pic 1] |
For the Cover:
 |
| [pic 2] |
1. Cut the 12"x12" cs to 9"x12"
2. Be sure the cs is landscape positioned as shown [pic 2]. Score at 8" & 7"~ this will be the bottom or base when Keeper is closed
3. Continue to score at 2 1/2", 2 1/4" and 2", (for flexibility ~ this will be the flap that folds over at the top when Keeper is closed~left side of [pic 2]
4. Fold each of the score lines
For the Inside Envelope Pockets:
 |
| [pic 3] |
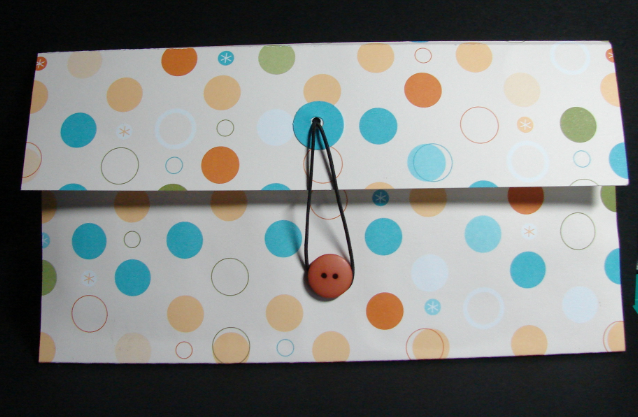
1. For the envelope that opens on the long side: slit one short end thus becoming the
Designated Flap End [pic 3]
2. Seal the envelope as you normally would
3. For the envelope that opens on the short side: leave it alone, this is the
Flap End
|
| [pic 4] |
When Cutting and scoring, Start With the Flap or Designated Flap End on the Left [pic 4]
4. Cut 2 of the envelopes to 9", and then score & fold at 4 3/4", 4 1/2" & 4 1/4" for flexibility (the top row)
5. Cut 2 of the envelopes to 8 3/4" then score/fold at 4 5/8", 4 3/8" & 4 1/8" for flexibility (the bottom row)
To Attach the Envelope Pockets:
 |
| [pic5] |
1. Apply adhesive to the back of each envelope, making sure the Flap/Designated Flap is at the top, face up
2. Attach envelope pockets, making sure they are folded and glued in the correct direction/position.
*[pic 5]-showing envelopes folded up with both of the openings orientated to the top
*[pic 5a]-showing the bottom 2 envelopes unfolded
3. The bottom 2 envelope pockets hang over the cs, [pic5b] but that is ok, it fits when closed/folded up
 |
| [pic 5a] |
 |
| [pic5b] |
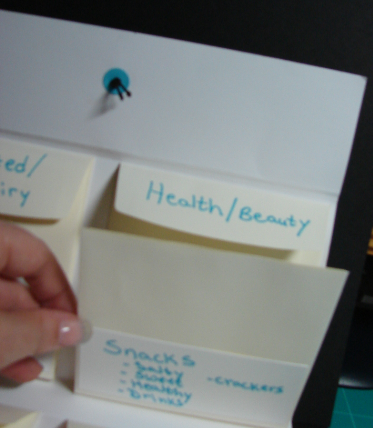
To finish:
1. Label the 8 pockets as desired
2. For the closure attach a button, brad, magnet, string, or ribbon as desired
This is how I finished mine:
 |
| My Eight Envelopes Labeled |
 |
| Coupon Keeper Closed |
 |
| Closed & Fastened | | | | | | | | | | | | | | | | | | | | | | | | | | | | | | | | | | | | | | | | | | | | | | | | | | | | | | | | | | | | | | | | | | | | | | |
|
|
|
|
 |
| Showing one half of envelope partially up |
 |
| Showing one envelope unfolded |
Please let me know if you have any questions. Did I miss anything? Does it make sense? Thank you very much for all of your feedback, it will certainly help with the future tutorials that I have planned!!! I toyed with the idea of calling it a Koupon Keeper. Silly?
I'll be sharing with these Link Parties and Challenges:
The Pinterest Challenge
Homemaker in Heels: Weekend Craft Soiree
**My entry into Overflowing with Creativity at It’s Overflowing is sponsored by Appliances Online and their
Best Freezers!**
Seasonal Sundays at The Tablescaper
Nifty Thrifty Sunday at Nifty Thrifty Things
Meet Me Monday at You're Talking To Much
Anything Goes At Eye Heart Mondays
***My entry into Nifty Thrifty Tuesday Party is sponsored by Appliances Online and the Best Range Cooker.***
Make the Scene Monday at Alderberry Hill